Discover battle-tested GMC Sierra performance parts from a 12-year truck veteran. Honest reviews of engine, suspension & drivetrain upgrades that deliver real results.
My Journey with Sierra Performance Mods
Look, I bought my first Sierra back in 2011. It was a decent truck off the lot, but after watching my buddy’s modded Silverado leave me in the dust during a weekend trail run, I caught the upgrade bug bad.
Since then, I’ve gone down the rabbit hole of Sierra performance mods—wasted money on parts that looked cool but did nothing, found gems that transformed how my truck drove, and learned way too many lessons the hard way.
That’s why I’m writing this guide. Not as some theoretical “best parts” list, but as a fellow Sierra owner who’s made the mistakes so you don’t have to.
Engine Mods: Where the Real Power Hides
Cold Air Intakes: The Gateway Mod
My first-ever upgrade was a K&N cold air intake, and damn if it didn’t hook me on modding forever. For about $350 and 45 minutes in my garage (plus another 30 minutes searching for a dropped bolt), I picked up around 11 horsepower and a deep, throaty growl that still makes me grin like an idiot when I punch it.
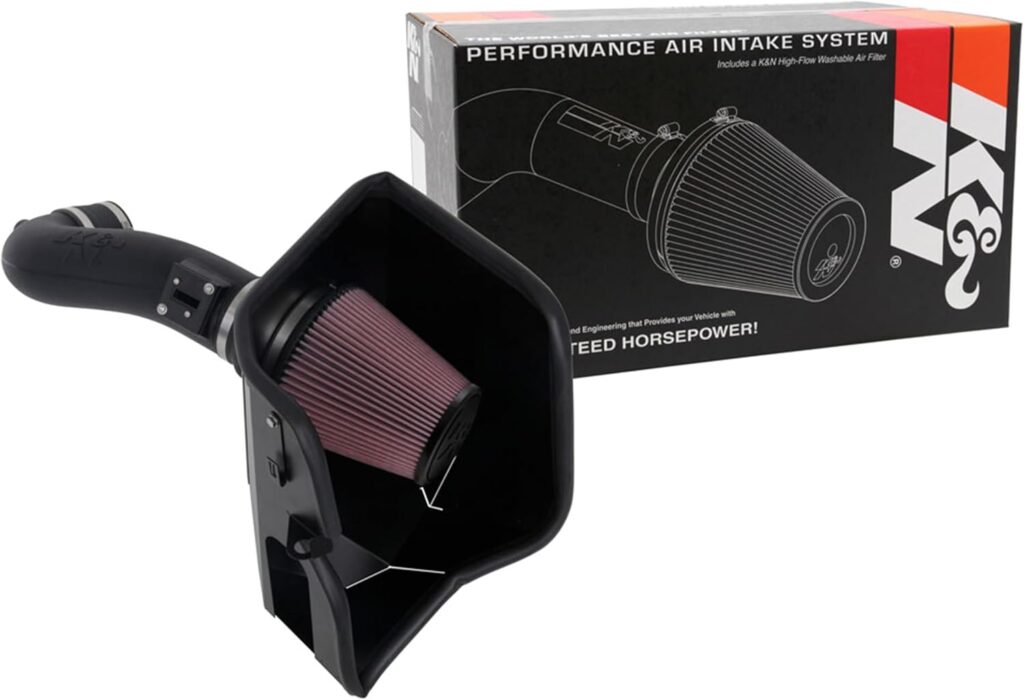
Why it works: Your stock airbox is built for noise reduction, not performance. A good cold air intake brings cooler, denser air into your engine, which means more oxygen for combustion. More oxygen = more power.
What I noticed: Beyond the horsepower bump, throttle response improved. The truck just feels more alive, especially in the 2000-3500 RPM range where I’m usually cruising.
Installation tip: Take photos before disconnecting anything. Trust me on this one.
Exhaust Systems: Finding the Sweet Spot
After destroying my eardrums (and my neighborhood’s peace) with an overly aggressive straight-pipe setup on my first Sierra, I’ve found Borla’s ATAK catback system hits the perfect balance.
At idle, it’s only slightly louder than stock. But when you need it—like merging onto the highway with a trailer—it opens up with a deep, authoritative rumble that never drones on long trips.
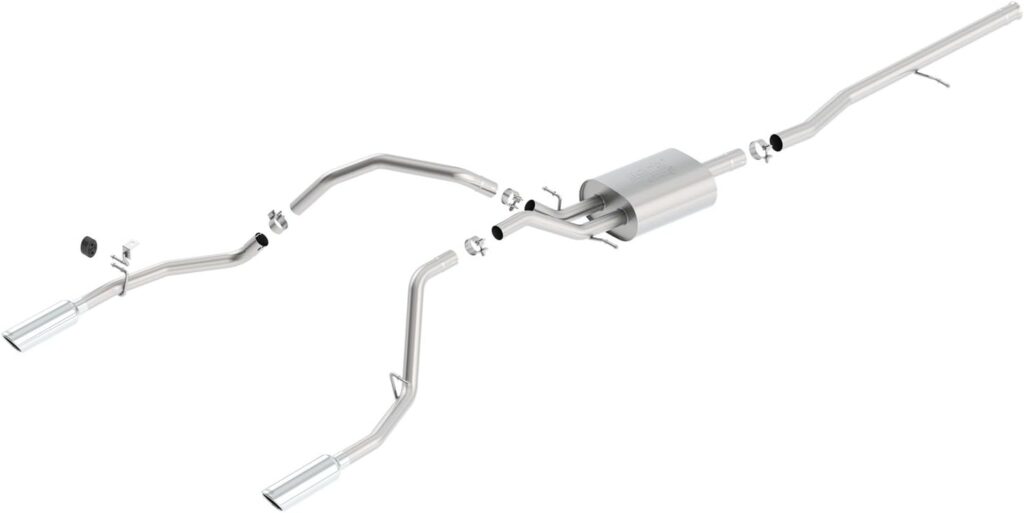
My wife’s feedback: “At least I can still hear the radio with this one.” High praise indeed.
Cost vs. benefit: At around $950, it’s not cheap. But after 3 years and 42,000 miles, it hasn’t developed any rattles, the tips haven’t discolored, and the sound still makes me turn down the radio just to hear it.
Programmers & Tuners: The Brain Upgrade
My DiabloSport inTune i3 taught me that modern trucks are severely handicapped from the factory. After spending an evening setting up custom tunes, my Sierra’s personality completely transformed.
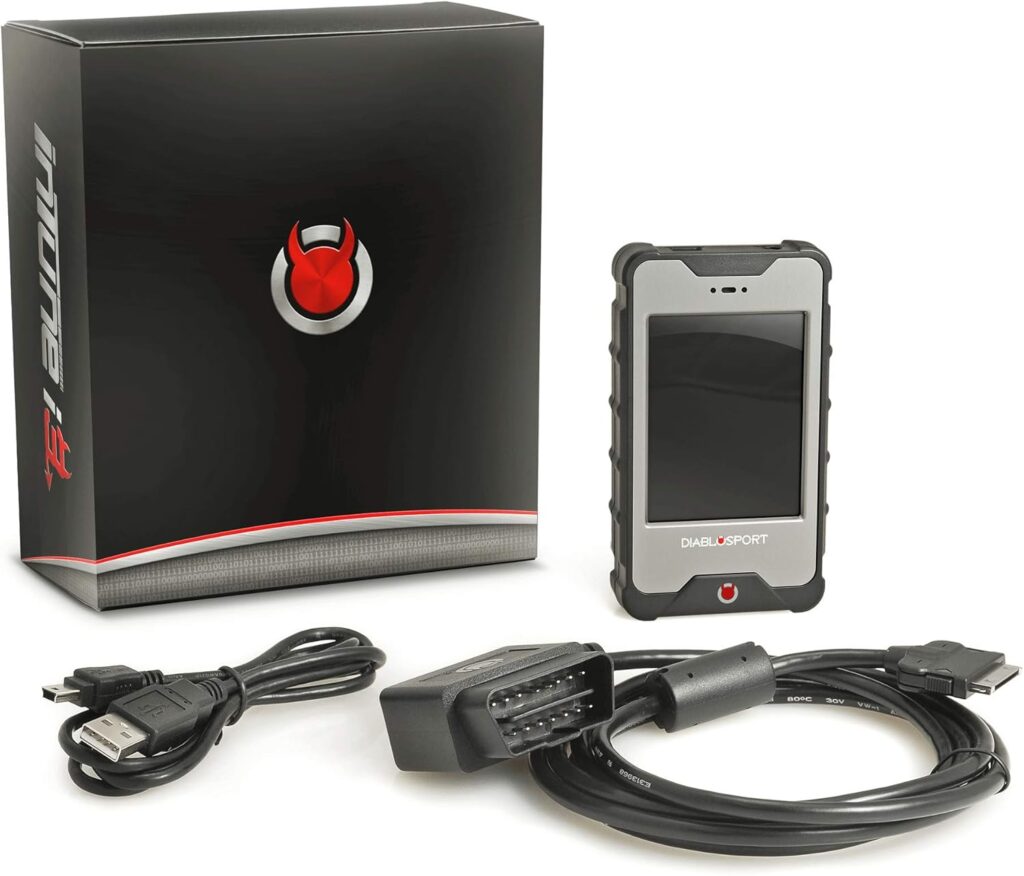
What changed:
- Throttle response went from “eventually” to “RIGHT NOW”
- Transmission shifts became crisp instead of sluggish
- Those annoying dead spots in the power band disappeared
- Gained about 2 MPG on the highway (seriously)
The best part is switching between tunes based on what I’m doing. I run the economy tune for daily commuting, switch to the towing profile when pulling my boat, and flip to performance when I hit the mountains.
Word of warning: Cheap tuners can cause more harm than good. I tried a $150 eBay special that made my check engine light a permanent fixture on my dash. Stick with reputable brands.
Suspension Upgrades: Because Handling Matters Too
Shock Absorbers & Leveling Kits
After trying both 2″ and 4″ lifts on previous trucks, I’ve found that a simple 2″ ReadyLift leveling kit paired with Bilstein 5100 shocks offers the best balance for a daily driver that occasionally goes off-road.

Why this combo works:
- Levels out the factory rake (that annoying nose-down look)
- Provides just enough height for 33″ tires without killing your MPG
- The Bilsteins absorb rough roads better than stock while still controlling body roll
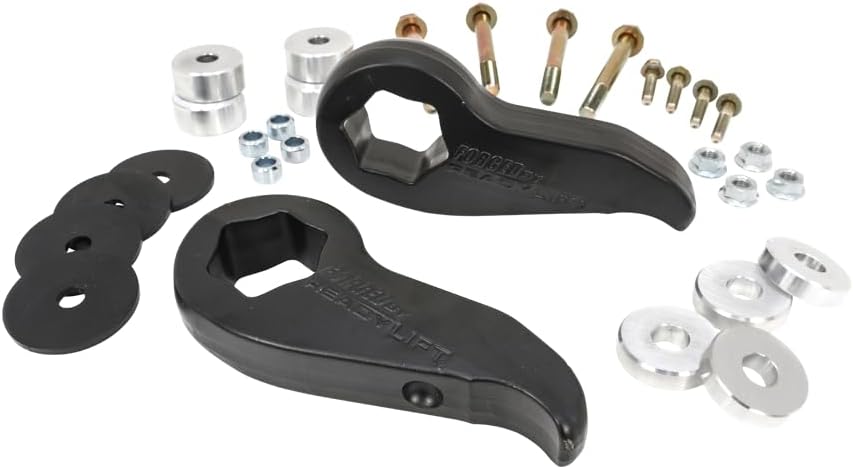
Real-world difference: My coffee stays in the cup on dirt roads now, and the truck doesn’t feel like it’s going to tip over during emergency lane changes.
Cost: About $600 for parts, plus another $300 for professional installation and alignment. Money well spent.
Tires: Where the Rubber Meets Everything
I’ve tried dedicated off-road tires (too noisy), highway tires (useless in mud), and finally found my Goldilocks in the BFGoodrich All-Terrain T/A KO2.
After 40,000 miles, my current set has:
- Survived three Moab trips
- Gotten me through two Michigan winters
- Still has about 25% tread left
- Only required one rotation to fix uneven wear (my alignment was off)
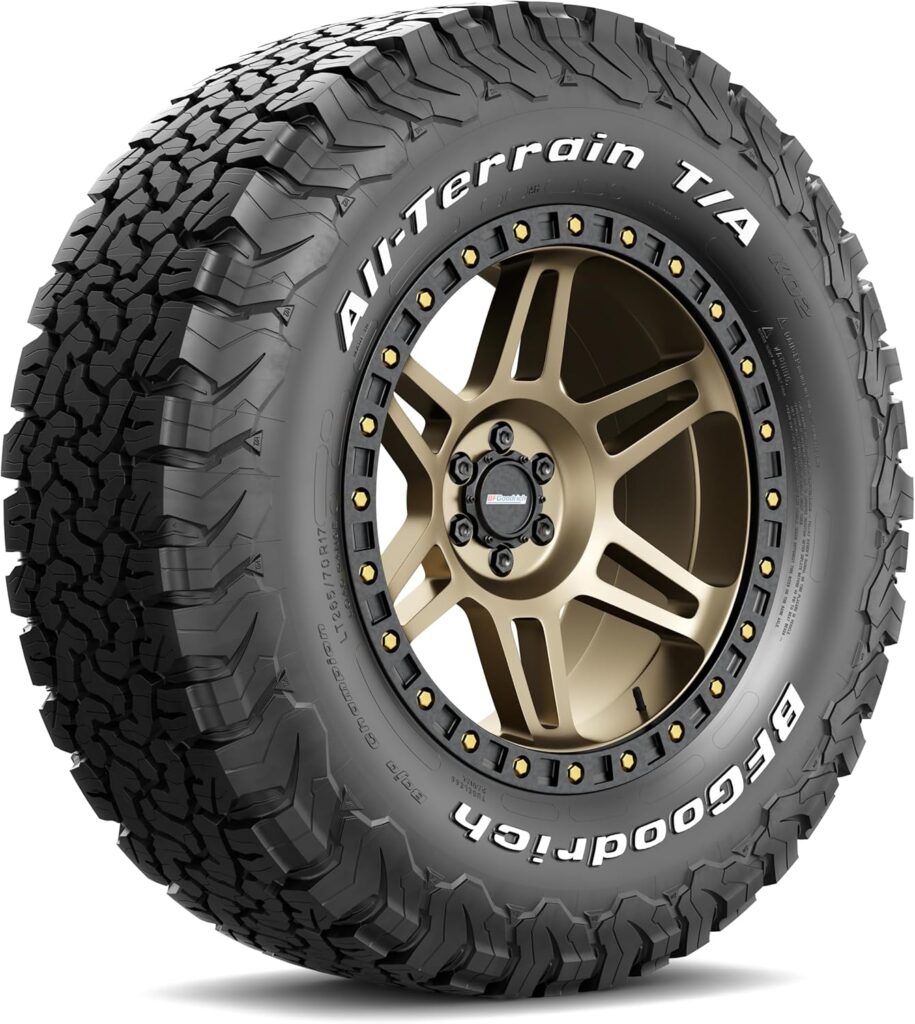
They’re not cheap at about $250 per tire, but the performance-to-longevity ratio makes them worth every penny.
What I’ve learned: Proper inflation makes a massive difference. I run 38 PSI on highways for better fuel economy and drop to 30 PSI for off-road traction.
Braking: The Upgrade Everyone Forgets
Let’s be honest—most of us focus on adding power and forget about stopping. That was me until a close call towing my boat down a mountain pass.
The EBC Stage 9 kit completely transformed my Sierra’s braking:
- Stopping distances shortened by about 15 feet from 60 MPH
- No more brake fade after multiple hard stops
- Pedal feel is firm instead of spongy
- The bright red calipers look killer behind my wheels
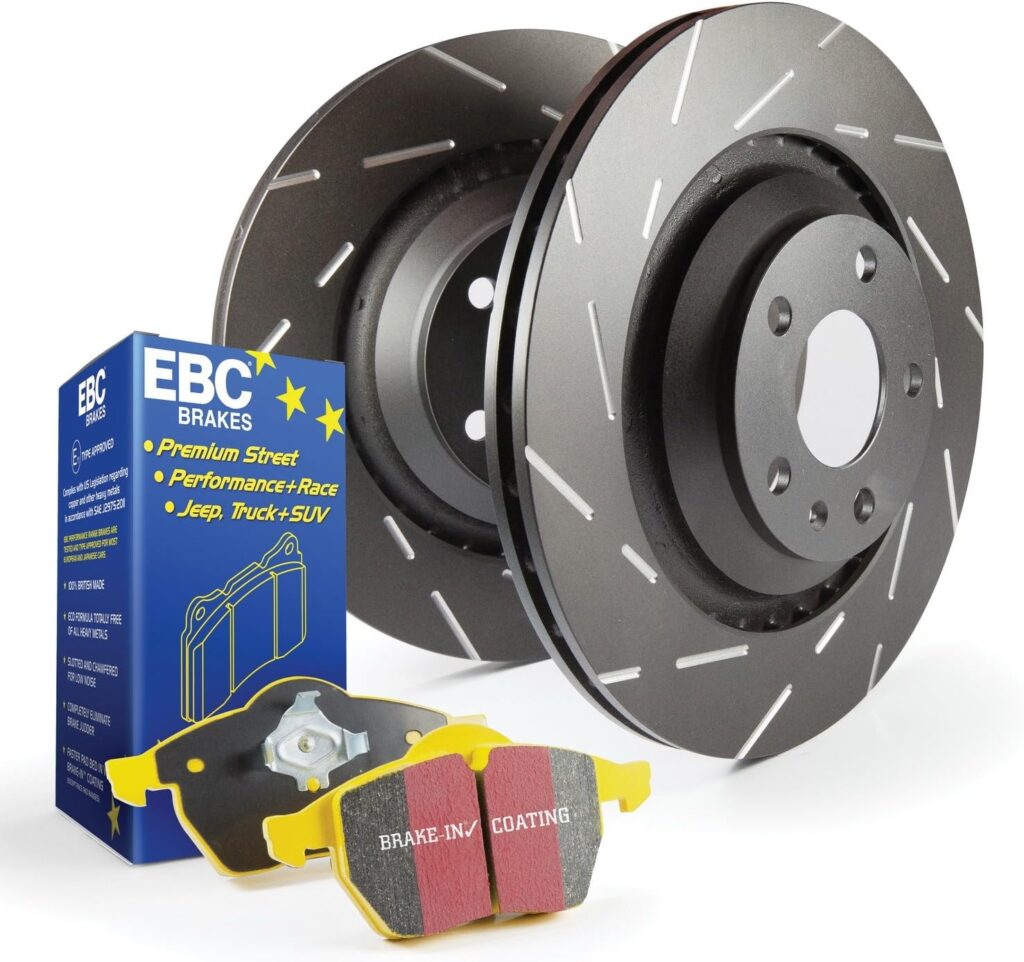
Cost vs. benefit: At around $1,100 plus installation, it’s expensive. But after experiencing the difference while towing 7,500 lbs down a 6% grade, I’d pay twice that.
Installation reality: This is one mod I don’t DIY. The risk of improperly installed brakes isn’t worth saving a few bucks.
Drivetrain Upgrades: Getting Power to the Ground
Differential Covers & Gearing
After cracking my stock diff cover on a submerged rock, I upgraded to a G2 finned aluminum cover. Besides looking badass, it actually serves a purpose—better cooling and increased fluid capacity.
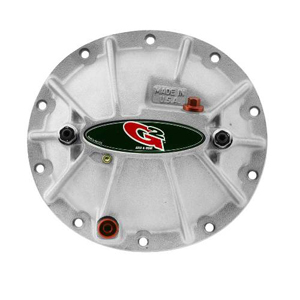
Temperature difference: On a 90-degree day pulling my boat up the launch ramp, my diff temp runs about 25 degrees cooler than with the stock cover.
Unexpected benefit: The drain plug on the G2 makes fluid changes so much easier.
Transmission Coolers: Essential for Heavy Use
If you tow or live somewhere hot, a supplemental transmission cooler is cheap insurance. After installing a Mishimoto cooler ($430), my transmission temp stopped spiking during summer towing trips.
Real-world impact: Transmission fluid breaks down when overheated, and rebuilds cost thousands. This mod potentially saved me a $3,000+ repair bill.
The Little Things That Make a Big Difference
LED Lighting Upgrades
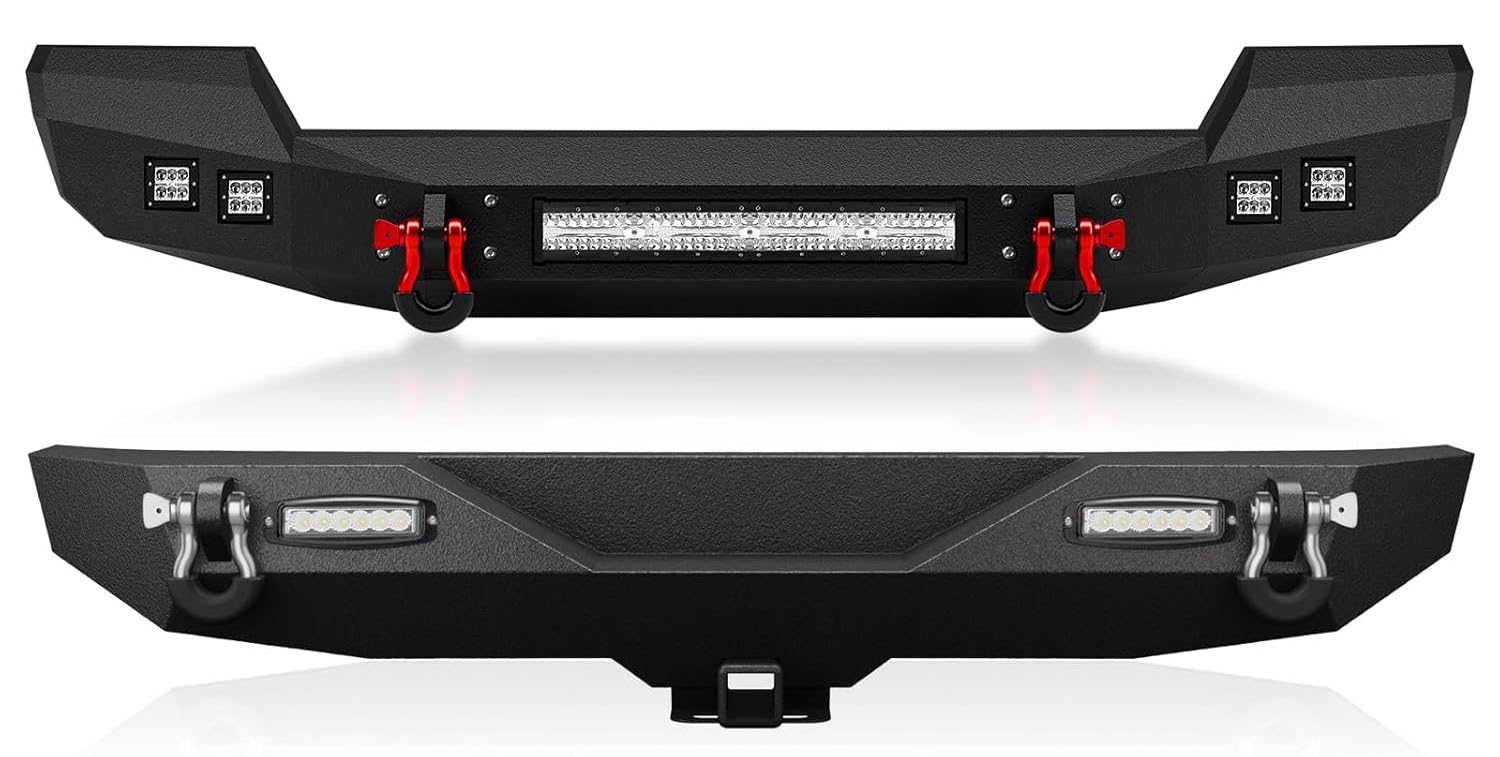
After nearly hitting a deer on a dark country road, I upgraded to a 42″ LED light bar mounted in my bumper. Total game-changer for rural driving.
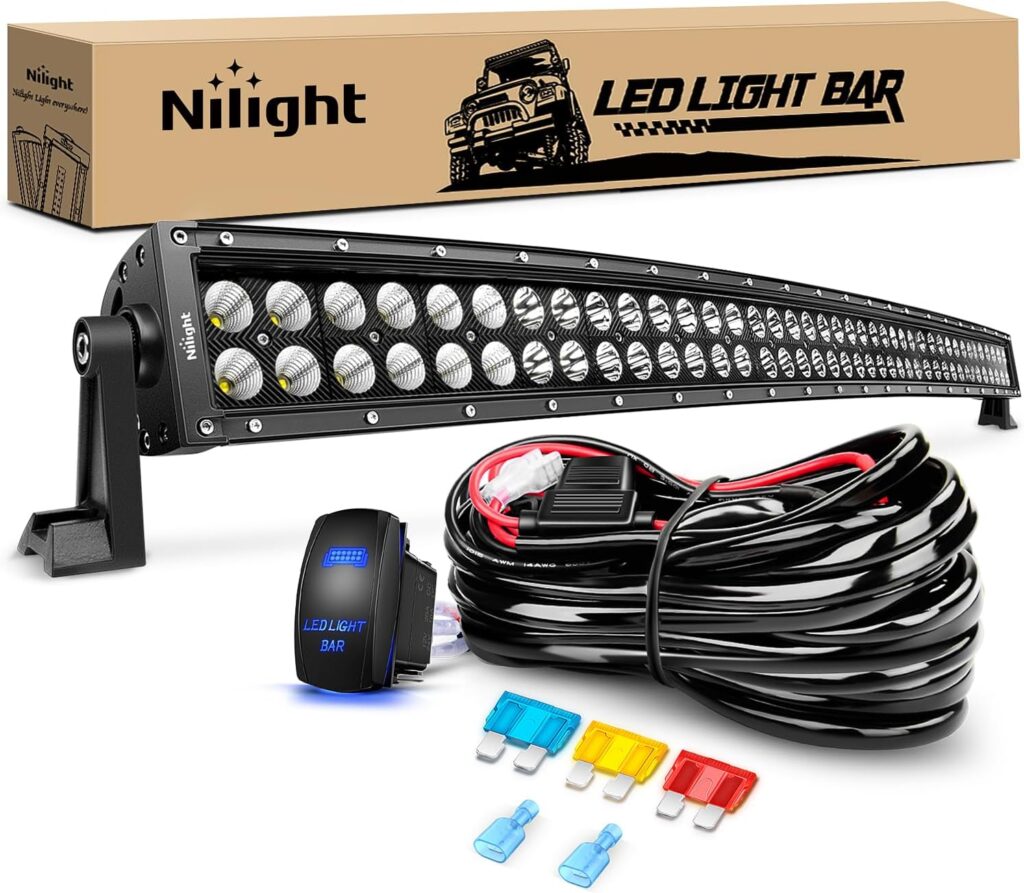
Installation wasn’t plug-and-play as advertised. I spent an entire Saturday running wires and mounting a switch, but the visibility improvement was worth the bloody knuckles.
Cost: About $250 for a quality bar and proper mounting hardware.
Bed Protection That Actually Works
I’ve tried both drop-in and spray-in liners. The drop-in started rattling after a year and trapped water underneath, causing rust.
My Line-X spray-in liner has survived:
- Hauling 1,500 pounds of landscaping rock
- A 16-foot lumber delivery
- Countless dirt bike loadings
- My kids using the bed as a playground
Discover LINE-X Bedliners
Seven years later, it still looks nearly new after a pressure washing.
Initial cost was high ($550), but amortized over the life of the truck, it’s pennies per month for real protection.
The Hard Truth About Modifying Your Sierra
Warranty Realities
Yes, modifications can affect your warranty. Here’s what I’ve learned:
- The Magnuson-Moss Warranty Act is your friend, but it’s not a magical shield
- Dealerships vary wildly in how they handle modified trucks
- Documentation is your best protection
- Building a relationship with your service advisor makes a huge difference
My approach: I keep all stock parts in labeled boxes in my garage. Before warranty work, I swap back to stock components for affected systems.
Installation: DIY vs. Professional
I’m a decent backyard mechanic, but I’ve learned to recognize when I’m out of my depth:
Things I DIY:
- Air intakes
- Exhaust systems
- Light bars
- Simple electrical
- Basic suspension
Things I leave to professionals:
- Engine tuning
- Differential work
- Brake systems
- Complex suspension
Money-saving tip: Make friends with knowledgeable Sierra owners. The advice I’ve gotten from Sierra forums has saved me thousands in trial-and-error expenses.
Did You Know Your GMC Sierra Could Do This?
Fuel Efficiency Reality Check
Let’s be honest about what these mods do to your MPG:
What helped my fuel economy:
- Cold air intake (+0.5 MPG)
- Tuner with economy setting (+1-2 MPG highway)
- Tonneau cover (+0.7 MPG highway)
What hurt:
- Bigger tires (-1 MPG)
- Roof rack (-0.8 MPG highway)
- My heavy right foot (variable, but significant)
My overall experience: With all mods installed, I’m within 0.5 MPG of stock in normal driving. The power and capability gains are worth this minimal efficiency loss.
Free DFM & AFM Disable!
Final Thoughts From a Sierra Enthusiast
Modifying your Sierra isn’t just about adding horsepower or looking cool in the Home Depot parking lot. It’s about creating a truck that fits your specific needs better than anything that rolls off the assembly line.
Start small, research thoroughly, buy quality parts, and take your time. Each modification should serve a purpose beyond just aesthetics.
My Sierra evolution has been a 12-year journey of learning what matters and what doesn’t. The truck I drive today is profoundly more capable, comfortable, and enjoyable than any stock version could be—and that’s the whole point.
What’s your Sierra story? Drop a comment below or share pics of your build. I’m always looking for new ideas for my next project.
3 Must Have Mods for Your 2014-2018 GMC Sierra
Commonly Asked Questions
Q: What’s the best first mod for a Sierra under $500? A: Cold air intake, hands down. It’s easy to install, provides noticeable power gains, and that improved sound will make you fall in love with your truck all over again.
Q: How much horsepower can I realistically gain without major engine work? A: With intake, exhaust, and a good tune, expect 35-45 additional horsepower. Anything claiming more without internal engine modifications is probably marketing hype.
Q: Will larger tires damage my transmission? A: Moving to 33″ tires is generally safe. Beyond that, you’re putting additional stress on your drivetrain, especially if you frequently tow or carry heavy loads.
Q: Can I install a leveling kit myself? A: Yes, but you’ll need proper tools and jack stands. Budget 4-5 hours for your first attempt, and you’ll need an alignment afterward. Having a buddy help is strongly recommended.
Q: How do I choose between all the exhaust systems? A: Consider three factors: sound level (neighbor friendliness), drone (highway comfort), and material quality (stainless lasts longer). YouTube videos can help you compare sounds before buying.
Q: What’s your opinion on programmers vs. custom dyno tunes? A: Off-the-shelf programmers offer 80% of the benefit for 50% of the cost. If you’re not racing or doing extreme towing, a quality programmer like the DiabloSport is plenty.
Q: How much lift is too much for daily driving? A: In my experience, anything over 3″ starts to negatively impact everyday livability, fuel economy, and handling. A 2″ level or lift hits the sweet spot for most drivers.
Q: Are cold air intakes worth it in rainy/snowy climates? A: Quality intakes like K&N and S&B include water protection. I’ve driven through Michigan snowstorms and summer downpours without issues. Cheap eBay specials? All bets are off.
Q: What mods will help my Sierra tow better? A: Focus on cooling upgrades (transmission cooler, diff cover), brake improvements, and a quality tuner with a towing profile. Add airbags or helper springs if you tow frequently.
Q: Do I really need to re-gear if I put bigger tires on my Sierra? A: For 33″ tires, typically no. For 35″ or larger, re-gearing will restore your proper powerband and improve drivability. It’s expensive but worth it for the driving experience.